Showing results 1 to 10 of 20
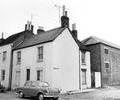
Museum Ref No: D_Drake_Road_0005Lagland Street and Drake Road (bonded warehouse). Photograph by S.A.H. Swain.
Photograph
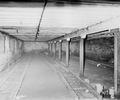
Museum Ref No: D_Drake_Road_0001Drake Road, bonded warehouse. Interior of ground floor. Photograph by S.A.H. Swain.
Photograph
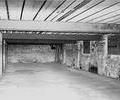
Museum Ref No: D_Drake_Road_0002Drake Road, bonded warehouse. Interior of ground floor. Photograph by S.A.H. Swain.
Photograph
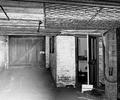
Museum Ref No: D_Drake_Road_0003Drake Road, bonded warehouse. Interior of ground floor. Photograph by S.A.H. Swain.
Photograph
Museum Ref No: D_Drake_Road_0004Drake Road, bonded warehouse. Entrance and office. Photograph by S.A.H. Swain.
Photograph
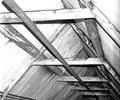
Museum Ref No: D_Drake_Road_0006Drake Road, bonded warehouse. Roof space. Photograph by S.A.H. Swain.
Photograph
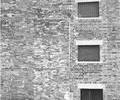
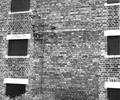
Museum Ref No: D_Drake_Road_0007Drake Road, bonded warehouse. Side view. Barred windows. Photograph by S.A.H. Swain.
Photograph
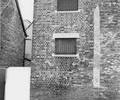
Museum Ref No: D_Drake_Road_0008Drake Road, bonded warehouse. Side view. Barred windows. Photograph by S.A.H. Swain.
Photograph
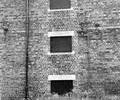
Museum Ref No: D_Drake_Road_0009Drake Road, bonded warehouse. Side view. Barred windows. Photograph by S.A.H. Swain.
Photograph
Museum Ref No: D_Drake_Road_0010Drake Road, bonded warehouse. Side view. Barred windows. Photograph by S.A.H. Swain.
Photograph